A simple guide on Harvesting and Storing Microgreens. Harvest day is an exciting moment—just days after planting, you have a tray bursting with mini-vegetables ready to eat. Proper harvesting and handling will ensure the best flavor and shelf life.
Harvesting and Storing Microgreens
When to Harvest Microgreens

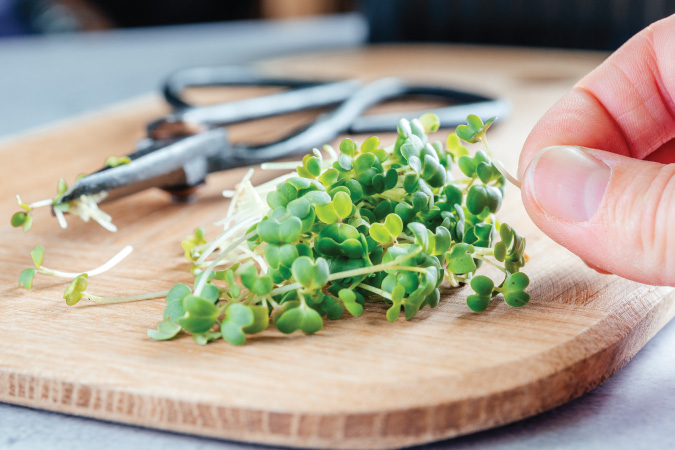
Most microgreens are cut when they’ve developed their cotyledons (seed leaves) and possibly a tiny first genuine leaf, typically 1-3 inches tall. This is when they are most tender and flavorful. Harvesting usually happens well before the plants start getting tall, woody, or developing more mature leaves.
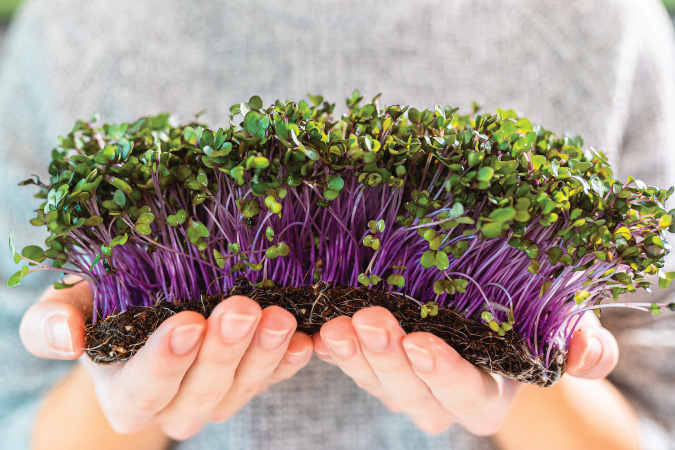
A visual cue: the tray looks like a thick lawn, and maybe a few microgreens are starting to lean over or get a second set of leaves – that’s a good time to cut. Please don’t wait for them to all fall over, or you risk damping off or rot setting in at the base.
How to Harvest Microgreens

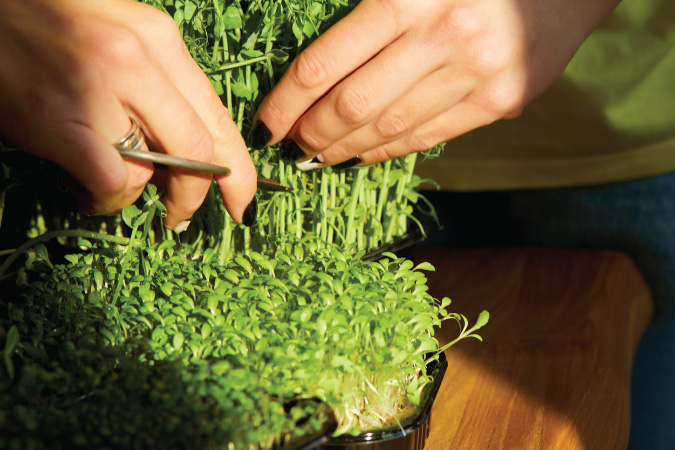
Use a clean pair of scissors or a sharp knife. Hold a bunch of microgreens upright with one hand and snip just above the soil line with the other. Avoid cutting into the soil (you don’t want grit on your greens).
It’s often easiest to work in sections, harvesting a portion of the tray at a time. If any seed hulls are still attached (familiar with sunflower or beet), you can pop those off or blow lightly, and many will fall away. Harvesting is best done when the greens are dry – so if you last watered from the top, allow them to dry off before cutting. This helps them store better and prevents a slimy cut edge.
Using Microgreens Fresh

Give the harvested microgreens a quick inspection and remove any large seed husks or the rare bad-looking sprout. In many cases, if you grow in a clean medium, you don’t even need to wash microgreens – you can eat them straight away (especially true for homegrown, where you know no pesticides or contaminants are present). They should be very clean if you watered gently. However, if you prefer to rinse, do so very gently in a bowl of cold water, then drain. Pat them dry with a paper towel or spin dry using a salad spinner (just a few gentle spins; don’t bruise them).
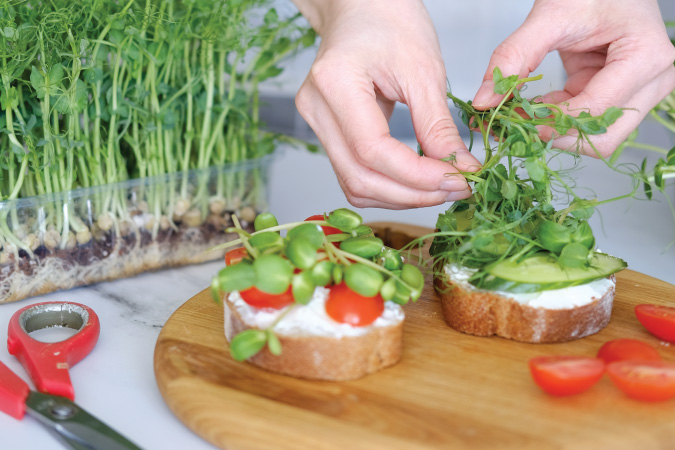
Microgreens shine when eaten raw: toss them on salads, pile them onto sandwiches and wraps, scatter them on soups or omelets after cooking, or blend them into smoothies and pesto. We’ve even dehydrated them and used them as a nutrient-packed garnish.
They pack a lot of flavors—radish microgreens, in a tiny leaf, will give you a wasabi-like punch, while pea shoots add a sweet garden-pea taste to anything. Their nutritional punch is highest when fresh and raw.
Storing Your Harvest
If you aren’t eating them all immediately, proper storage is essential because microgreens can spoil faster than mature greens. First, make sure any greens you plan to store are dry to the touch (excess moisture will promote rot). Line a plastic container or ziplock bag with a dry paper towel to absorb humidity. Place the microgreens loosely inside – don’t pack them or crush them. Seal it and keep it in the refrigerator.
The ideal fridge temp is around 35–40°F. Different microgreens have different shelf lives, but generally, use them within 5 to 7 days for best quality. Some studies indicate they can last up to 10-14 days under refrigeration, often requiring optimal conditions and varieties. In practice, delicate micros like radish or mustard might last ~1 week, while heartier pea shoots could last longer. Check the stored greens daily and remove any decay bits (the rest will last longer if spoiled pieces are taken out). If you notice the paper towel is damp, replace it.
An alternative storage method is gently wrapping the microgreens in a dry paper towel and then putting them in a bag—some growers find this helps keep them crisp.
Food Safety Note

Microgreens grown at home have a low risk of contamination if you use clean practices (clean trays, fresh seeds, potable water). They are safer than sprouts because they’re grown in light and with airflow, not in a jar. Still, always use clean hands and tools when handling them. Some people give a very light rinse of a vinegar-water solution or use produce wash if they’re storing a while, but it’s usually not necessary for homegrown. If you wash them, ensure they’re fully dry before storing them to avoid microbial growth.
Remember that, unlike a potted herb, microgreens will not grow after you cut them. In a few cases (like pea shoots or some herbs), if you leave a bit of stem and the root mat intact, you might get a very sparse regrowth or a “second cut,” but typically, the quality is much lower. It’s best to compost the remnants and start anew with fresh seeds for a continuous supply.
You can extend a tray’s usefulness by harvesting in batches every few days. For example, you could cut one half of the tray one day and leave the rest under lights to grow, maybe an extra day or two if they were slightly behind. But generally, once they’ve hit their prime, it’s time to harvest completely.
Enjoy this process – there’s something incredibly satisfying about snipping a tray of greens you grew in under two weeks and immediately sprinkling them onto your dinner.
From tray to table in minutes is the ultimate farm-to-table experience!
Read More in this Series:
A Beginner Guide to Growing Microgreens
The Top 5 Easiest to Grow Microgreen Varieties for Beginners
Our Favorite Microgreens Supplier:
The post Small Space Gardening: Harvesting and Storing Microgreens appeared first on The Grow Network.

